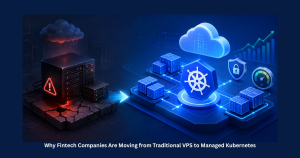
Why Fintech Companies Are Moving from Traditional VPS to Managed Kubernetes
The Shift Is Already Happening Downtime costs financial institutions millions of dollars every year. According to industry reports, the average cost of IT downtime can

Why Businesses Need 24×7 Infrastructure Monitoring in the AI Era
In today’s digital-first economy, a single minute of downtime can cost businesses thousands of dollars in lost revenue, damaged reputation, and customer dissatisfaction. According to

Top 10 Kubernetes Security Mistakes Businesses Still Make in 2026
Introduction Modern businesses are deploying Kubernetes faster than ever, but security gaps continue to expose production environments to ransomware, data leaks, and compliance violations. According
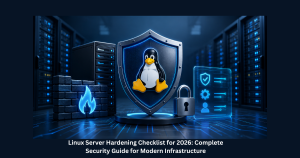
Linux Server Hardening Checklist for 2026: Complete Security Guide for Modern Infrastructure
Linux servers power a large portion of the global internet infrastructure, making them one of the most targeted environments for cyberattacks in 2026. Cybercriminals actively

Critical cPanel Security Updates Scheduled for May 13, 2026 – Immediate Action Recommended
Introduction cPanel has announced another important round of cPanel server security updates scheduled for May 13, 2026, at 1:00 PM EST. These critical updates address
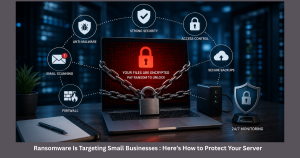
Ransomware Is Targeting Small Businesses: Here’s How to Protect Your Server
Small Businesses Are Now the Fastest-Growing Target for Ransomware A ransomware attack can shut down your entire business in minutes. What was once considered a